Cosplay

Cosplay

Cosplay Journal - Chadley (FF7R)

In this you will find:

  • Materials used

  • Estimated cost (often after coupons/sales)

  • ̶M̶̶̶y̶̶̶ ̶̶̶h̶̶̶e̶̶̶a̶̶̶r̶̶̶t̶̶̶f̶̶̶e̶̶̶l̶̶̶t̶̶̶ ̶̶̶t̶̶̶h̶̶̶o̶̶̶u̶̶̶g̶̶̶h̶̶̶t̶̶̶s̶̶̶ ̶̶̶a̶̶̶n̶̶̶d̶̶̶ ̶̶̶e̶̶̶m̶̶̶o̶̶̶t̶̶̶i̶̶̶o̶̶̶n̶̶̶s̶̶̶

Fabric:

  • 2 Yards of Jazz Blue Symphony Broadcloth Polyester Blend (~$3.50/yd = $7.00)

  • 3 Yards of Black and Blue Plaid Cotton Flannel (~$5.50/yd = $16.50)

  • ̶2̶ ̶Y̶a̶r̶d̶s̶ ̶E̶g̶g̶s̶h̶e̶l̶l̶ ̶S̶y̶m̶p̶h̶o̶n̶y̶ ̶B̶r̶o̶a̶d̶c̶l̶o̶t̶h̶ ̶P̶o̶l̶y̶e̶s̶t̶e̶r̶ ̶B̶l̶e̶n̶d̶ ̶(̶~̶$̶3̶.̶5̶0̶/̶y̶d̶ ̶=̶ ̶$̶7̶.̶0̶0̶)̶ ̶

Other Materials:

  • 1 Pack (2 buttons) of 22mm LaMode Gold Etched Buttons (~$5.50)

  • 1 5” Gold Aluminum Zipper (~$4.00)

  • 4” Zipper (~$3)

Other Accessories:

  • I wrote up about my Chadley wig here! (~$25)

  • Backpack (~$50.00)

  • Scarf (~<$1.00)

  • Glasses (~$10)

  • Sock Stays/Garters (~$10)

  • Socks (~$10)

  • Shoes (~$45)

I’m trying to do a better job journaling my cosplay progress for multiple of reasons.

  1. I hope it will encourage me to complete projects

  2. I can reflect back on areas I need to develop skills and research techniques for

  3. It allows me to go back to find exact fabrics/materials (if I remember writing those down in the first place)

  4. It’ll make me aware how much I spent on materials so I can cry about it.

I ordered online and there’s a 2 yard minimum for online fabric orders, so I have a lot of excess. I also ordered Eggshell Broadcloth that ended up being way yellower than I thought, so I’m forgoing that and just going to use the muslin (shh…).

The Character

Chadley’s shirt has two seams going down the middle and a zipper that goes about half way from there. There’s also a bottom half to the shirt that doesn’t have any seams in the middle. The sleeves have a blue layer that looks more like an under layer than a trim. There’s also the blue for the pockets and the collar.

I drew it out to help me minimize mistakes for this one (I only used the seam ripper 3 times!).

Honestly, I can’t even read my notes.

Honestly, I can’t even read my notes.

Shirt

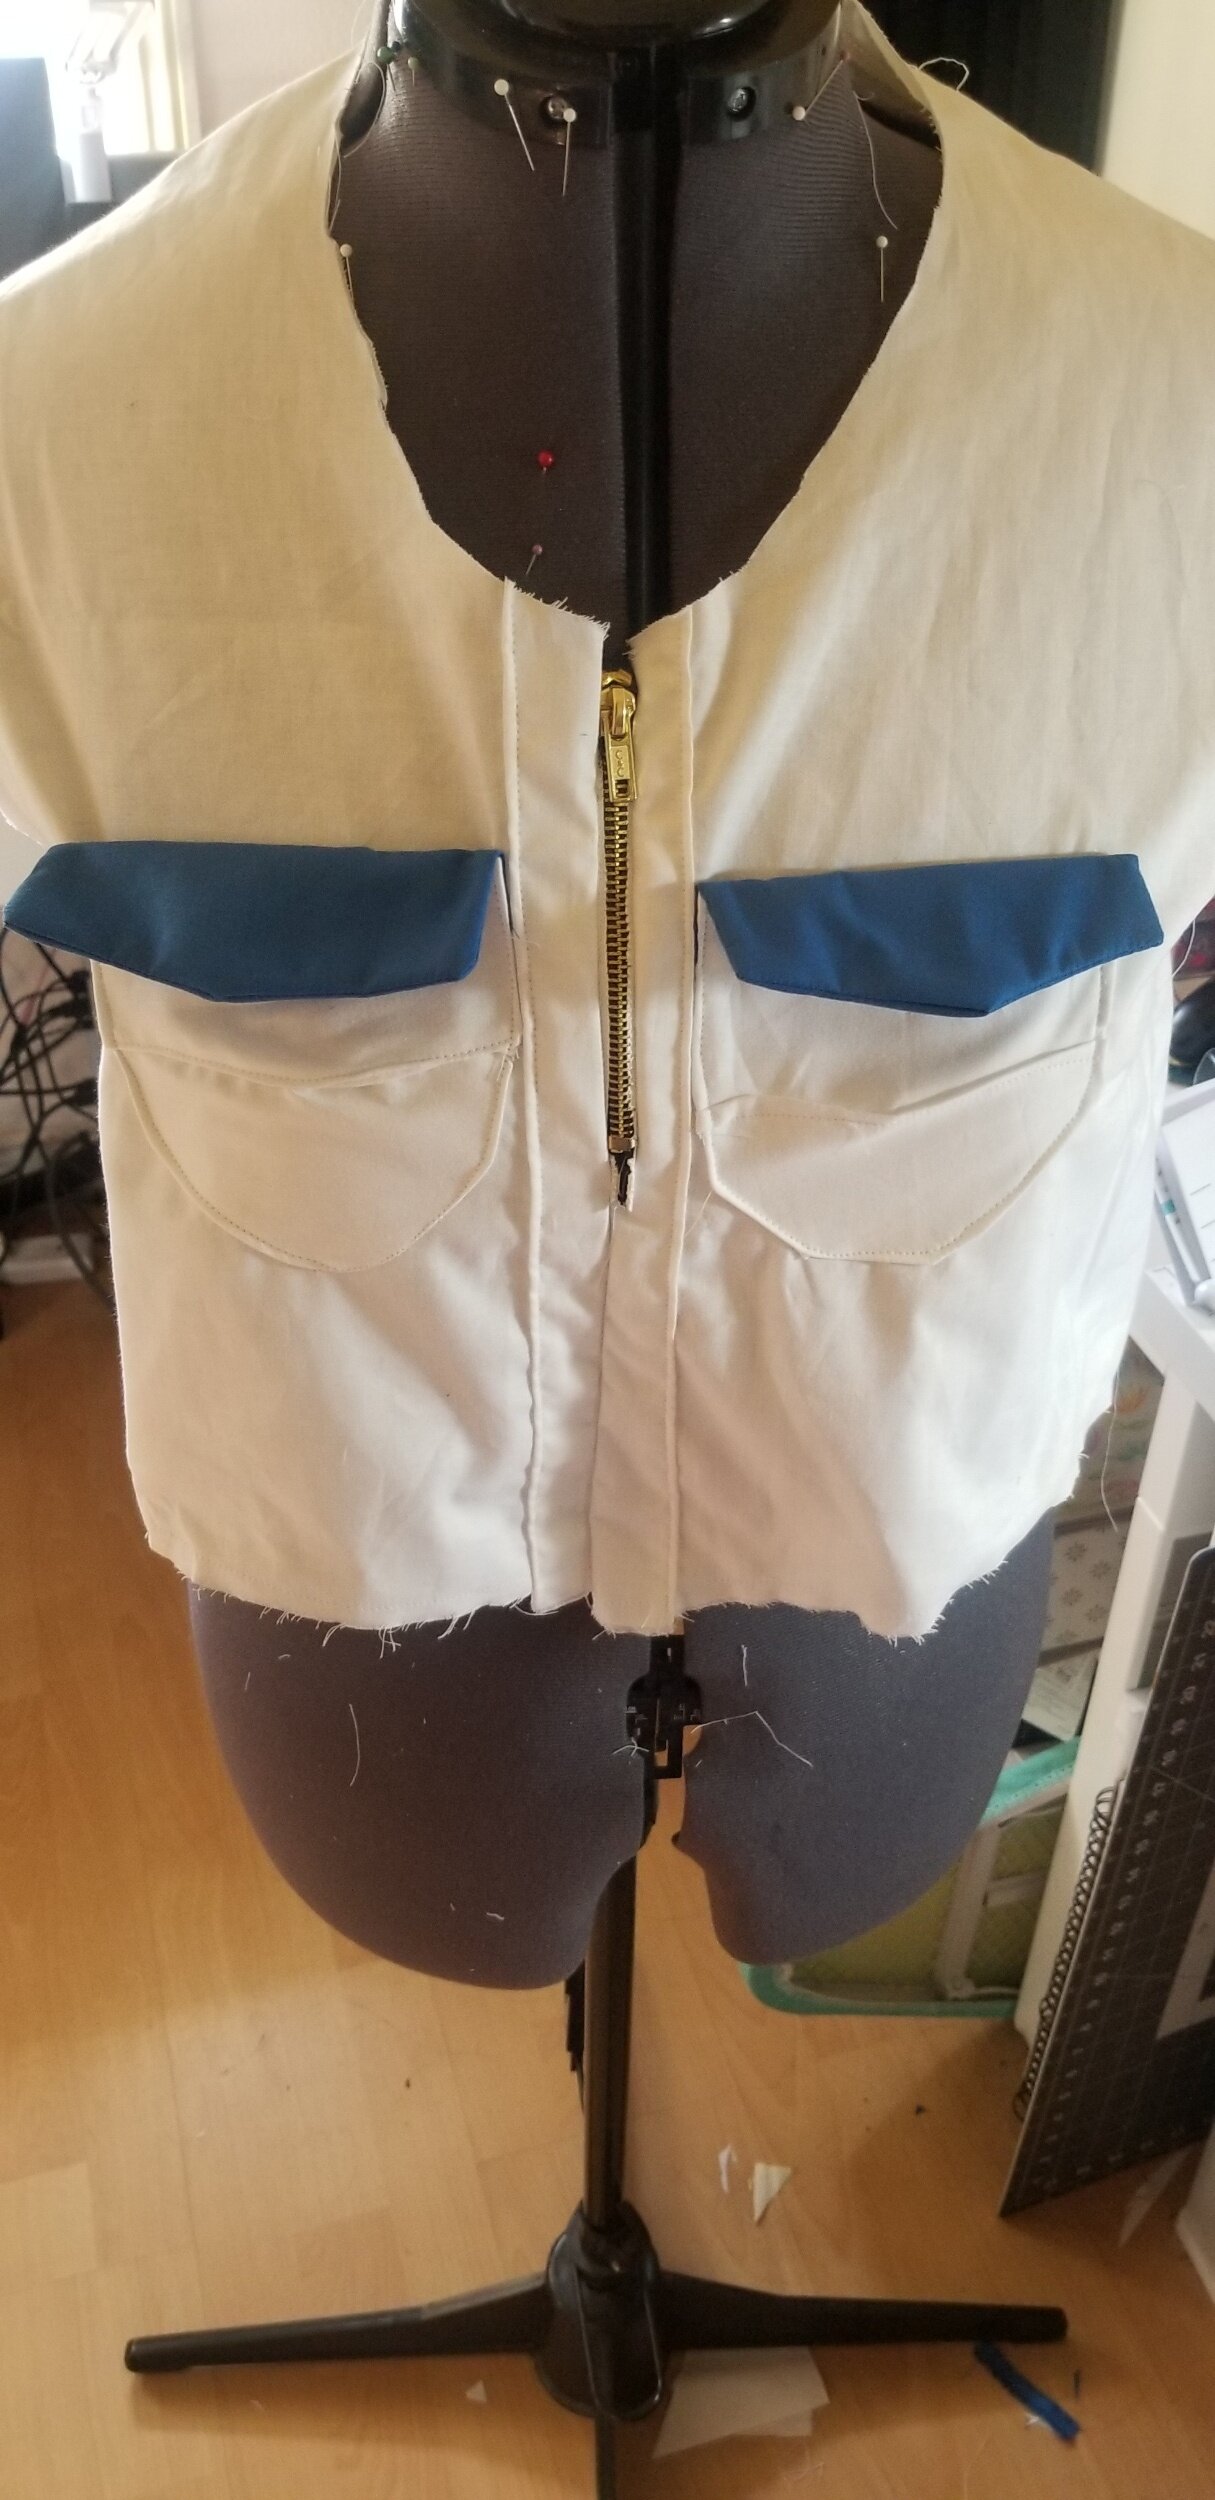
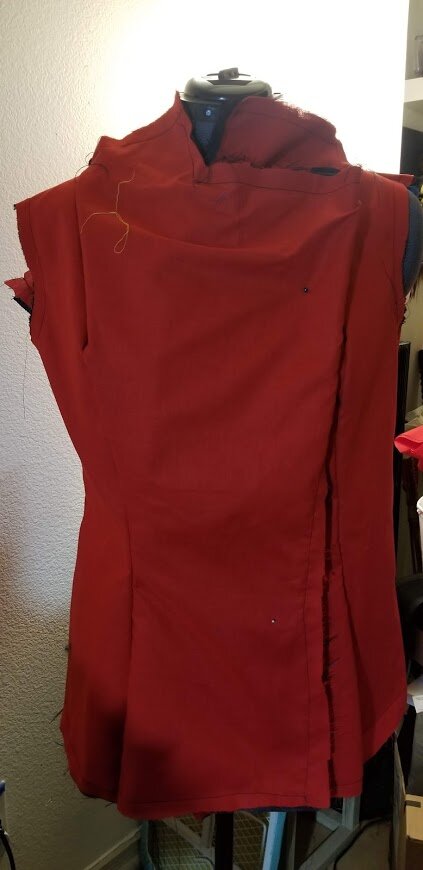
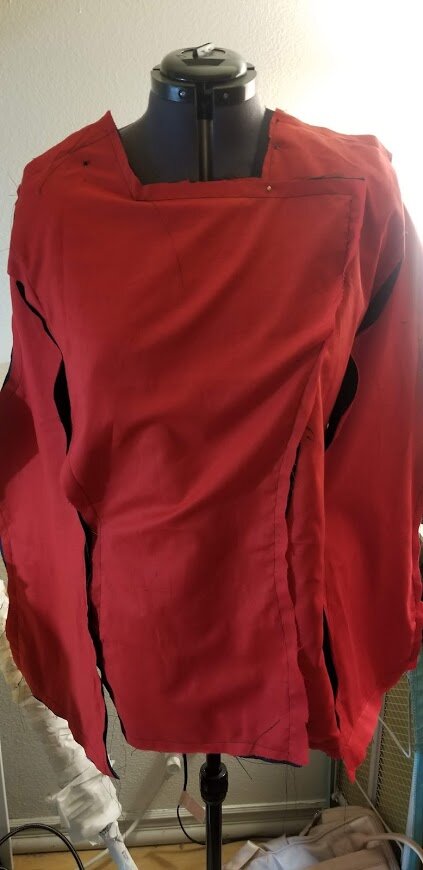
I cut out a basic shirt shape with a yoke on the back for that more “school uniform” kind of look, made the pockets, and added that to the front before attaching the front to the back. The zipper goes only about half way. I wanted to find a white zipper, but black was all I could get.

 
processed_20200701_172809.jpg
 
processed_20200701_180413.jpg

For the collar, it’s a simple peter pan style, sewing two sides together and flipping that inside out for a clean edge.

processed_20200701_181114.jpg
processed_20200701_180416.jpg

I added the gold buttons to the pockets (they’re functional pockets!), the blue layer underneath the white on the sleeves, added that weird bib part of the shirt (not photographed), and finished the bottom half of the shirt.

processed_20200722_204933.jpg
processed_20200702_000425.jpg
processed_20200702_000500.jpg

Shorts

At the time of buying fabrics, I threw in what I could for Chadley’s pants also (for that sweet, free shipping). My issue was that I couldn’t find a pattern match I liked in a material I liked and opted for a pattern I liked in a fabric…. that isn’t great. Flannel shorts sounds like a contradiction. Yet, here we are.

The shorts ended up being cursed or something. I ordered a zipper (just a zipper!) four separate times because it was either canceled or straight up lost! Finally got it on the fifth try, after driving an hour away for a zipper under $5 (why…).

I first used packing paper to trace shorts from my Angus Macdonald cosplay (that in retrospect would have worked for this Chadley cosplay *facepalm*) to use as a pattern.

processed_20200725_114348.jpg
IMG_-9mv2s9.jpg

I matched my seams, added pockets (using a serger), a front zipper and a waist band (using a sewing machine)!

processed_20200725_144952.jpg
processed_20200725_152512.jpg
processed_20200725_152526.jpg

These shorts are a bit bright compared to the character render, but this is the first time I made shorts that had pockets and a front zipper, so whatever!

processed_20200725_152502.jpg

And that’s it! Making shorts with pockets and a front zipper was way easier than I expected. I’ll revisit to add belt loops at some point, probably (probably not). It’s a simple sewing project that cost me under $200 (mostly due to the bag, wig, and shoes).

Total Cost: ~$187

Feeling satisfied enough with it, I took these phone pics using a greenish light, because I felt like that made me look like I was in the Shinra HQ building or something with all the lights from the Mako~

My phone went off as my sock stays fell…

My phone went off as my sock stays fell…

IMG_20200807_125745_711.jpg
20200808_100504_334.jpg

Cosplay

Cosplay Journal - [PROP] Promare Flame (Promare)

Here’s another Promare project because I cannot shut up about this movie.

timeline_1555007035_00031.jpg

Dangerous Ladies released a 3D printed kit and cosplayer Poisonneus fitted it with iridescent cellophane for the very colorful effect a while back. As soon as they released the kit, I was on it like….Sonic…?

After months of it just sitting on my desk, I finally added the cellophane.

processed_20200529_141916.jpg
processed_20200529_144213.jpg
processed_20200529_145621.jpg
processed_20200529_151222.jpg
processed_20200529_161118.jpg

The trick to combat the adhesive was to really make sure that the cellophane was creased on the corners. Cutting the cellophane to individual shapes of the flame works the best. Keeping scraps helps fill any missing holes.

processed_20200529_151225.jpg
Here’s what it looks like with a small LED inside of it.

Here’s what it looks like with a small LED inside of it.

The kit includes a bottom piece that is removable so you can insert things such as a lights into it, but I don’t believe mine came with the cap (which isn’t the end of the world at all). I can find an alternative to cap it up.

It wouldn’t be Promare without the eyes, right?

processed_20200529_165342.jpg
processed_20200529_165408.jpg

Cosplay

Cosplay Journal - [WIG] Noctis Caelum (Final Fantasy XV)

Background:

It’s no secret that FFXV is one of my top Final Fantasy games regardless of the criticism, tumultuous development histories, and rumors. I could go on and list so many reasons why I love the game, but that would be just TOO much. But all that is to say, of course I’d want to cosplay my best boy, Noctis Lucis Caelum, Prince of Lucis and King of Fishing.

In 2017, I tried. I did a genderbend Noctis with a group of friends and it was really great! (Except that it was during San Diego Comic-Con and I’m honestly too old to try to cosplay there anymore.)

Ignis is RPGadventurer Twitter | Instagram Prompto is AshleighWeasley Twitter | Instagram Gladio is SaylumCroft Twitter | Instagram Luna is Tranmasterflash Twitter | Instagram Gladio’s shield was made by TonyCos3.0 Twitter | Instagram Photography: J…
Ignis is RPGadventurer Twitter | Instagram
Prompto is AshleighWeasley Twitter | Instagram
Gladio is SaylumCroft Twitter | Instagram
Luna is Tranmasterflash Twitter | Instagram
Gladio’s shield was made by TonyCos3.0 Twitter | Instagram
Photography: Justin David Photography

Photography: Sventure Snaps

Photography: Sventure Snaps

Photography: Sventure Snaps

Photography: Sventure Snaps

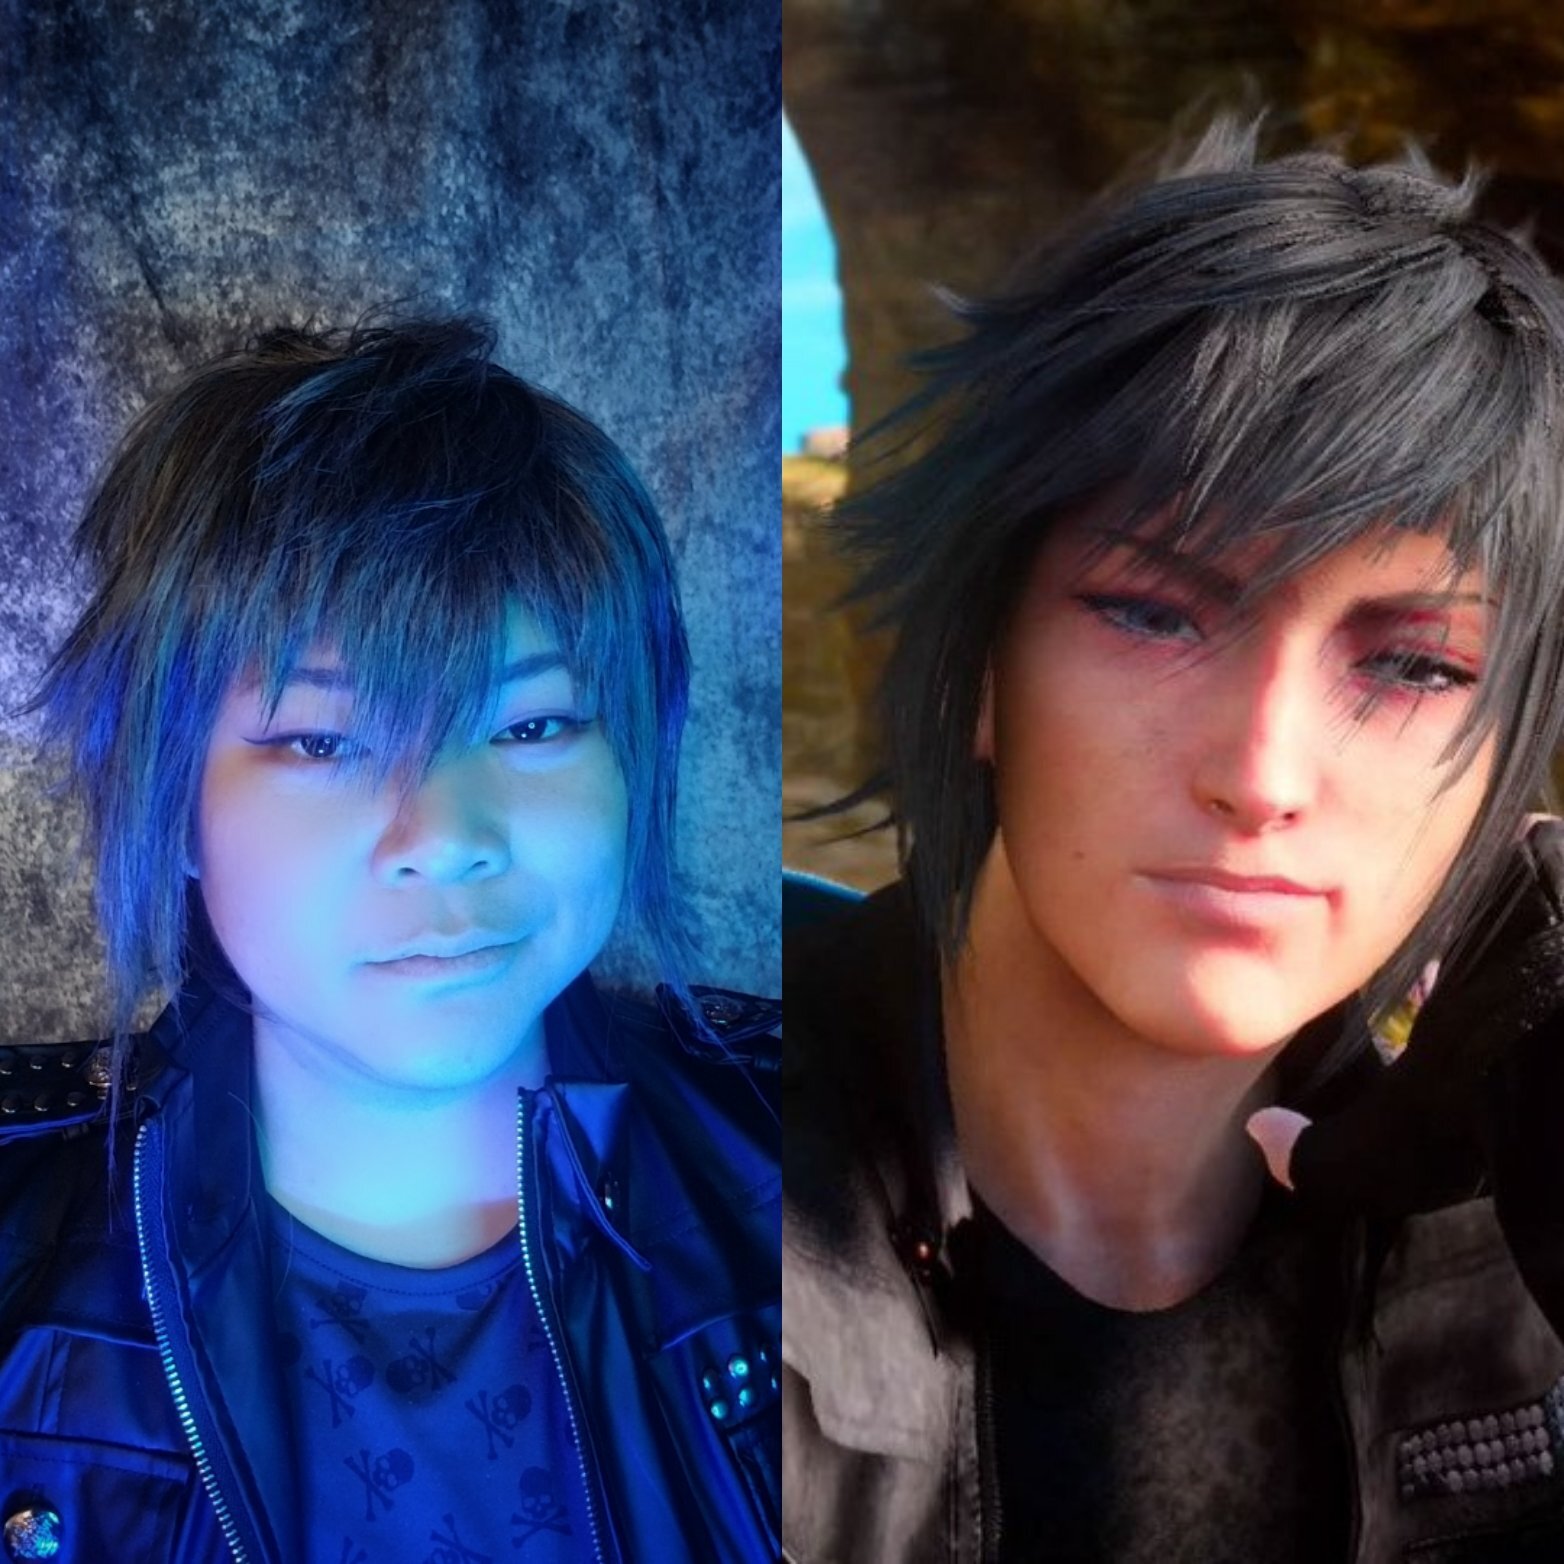
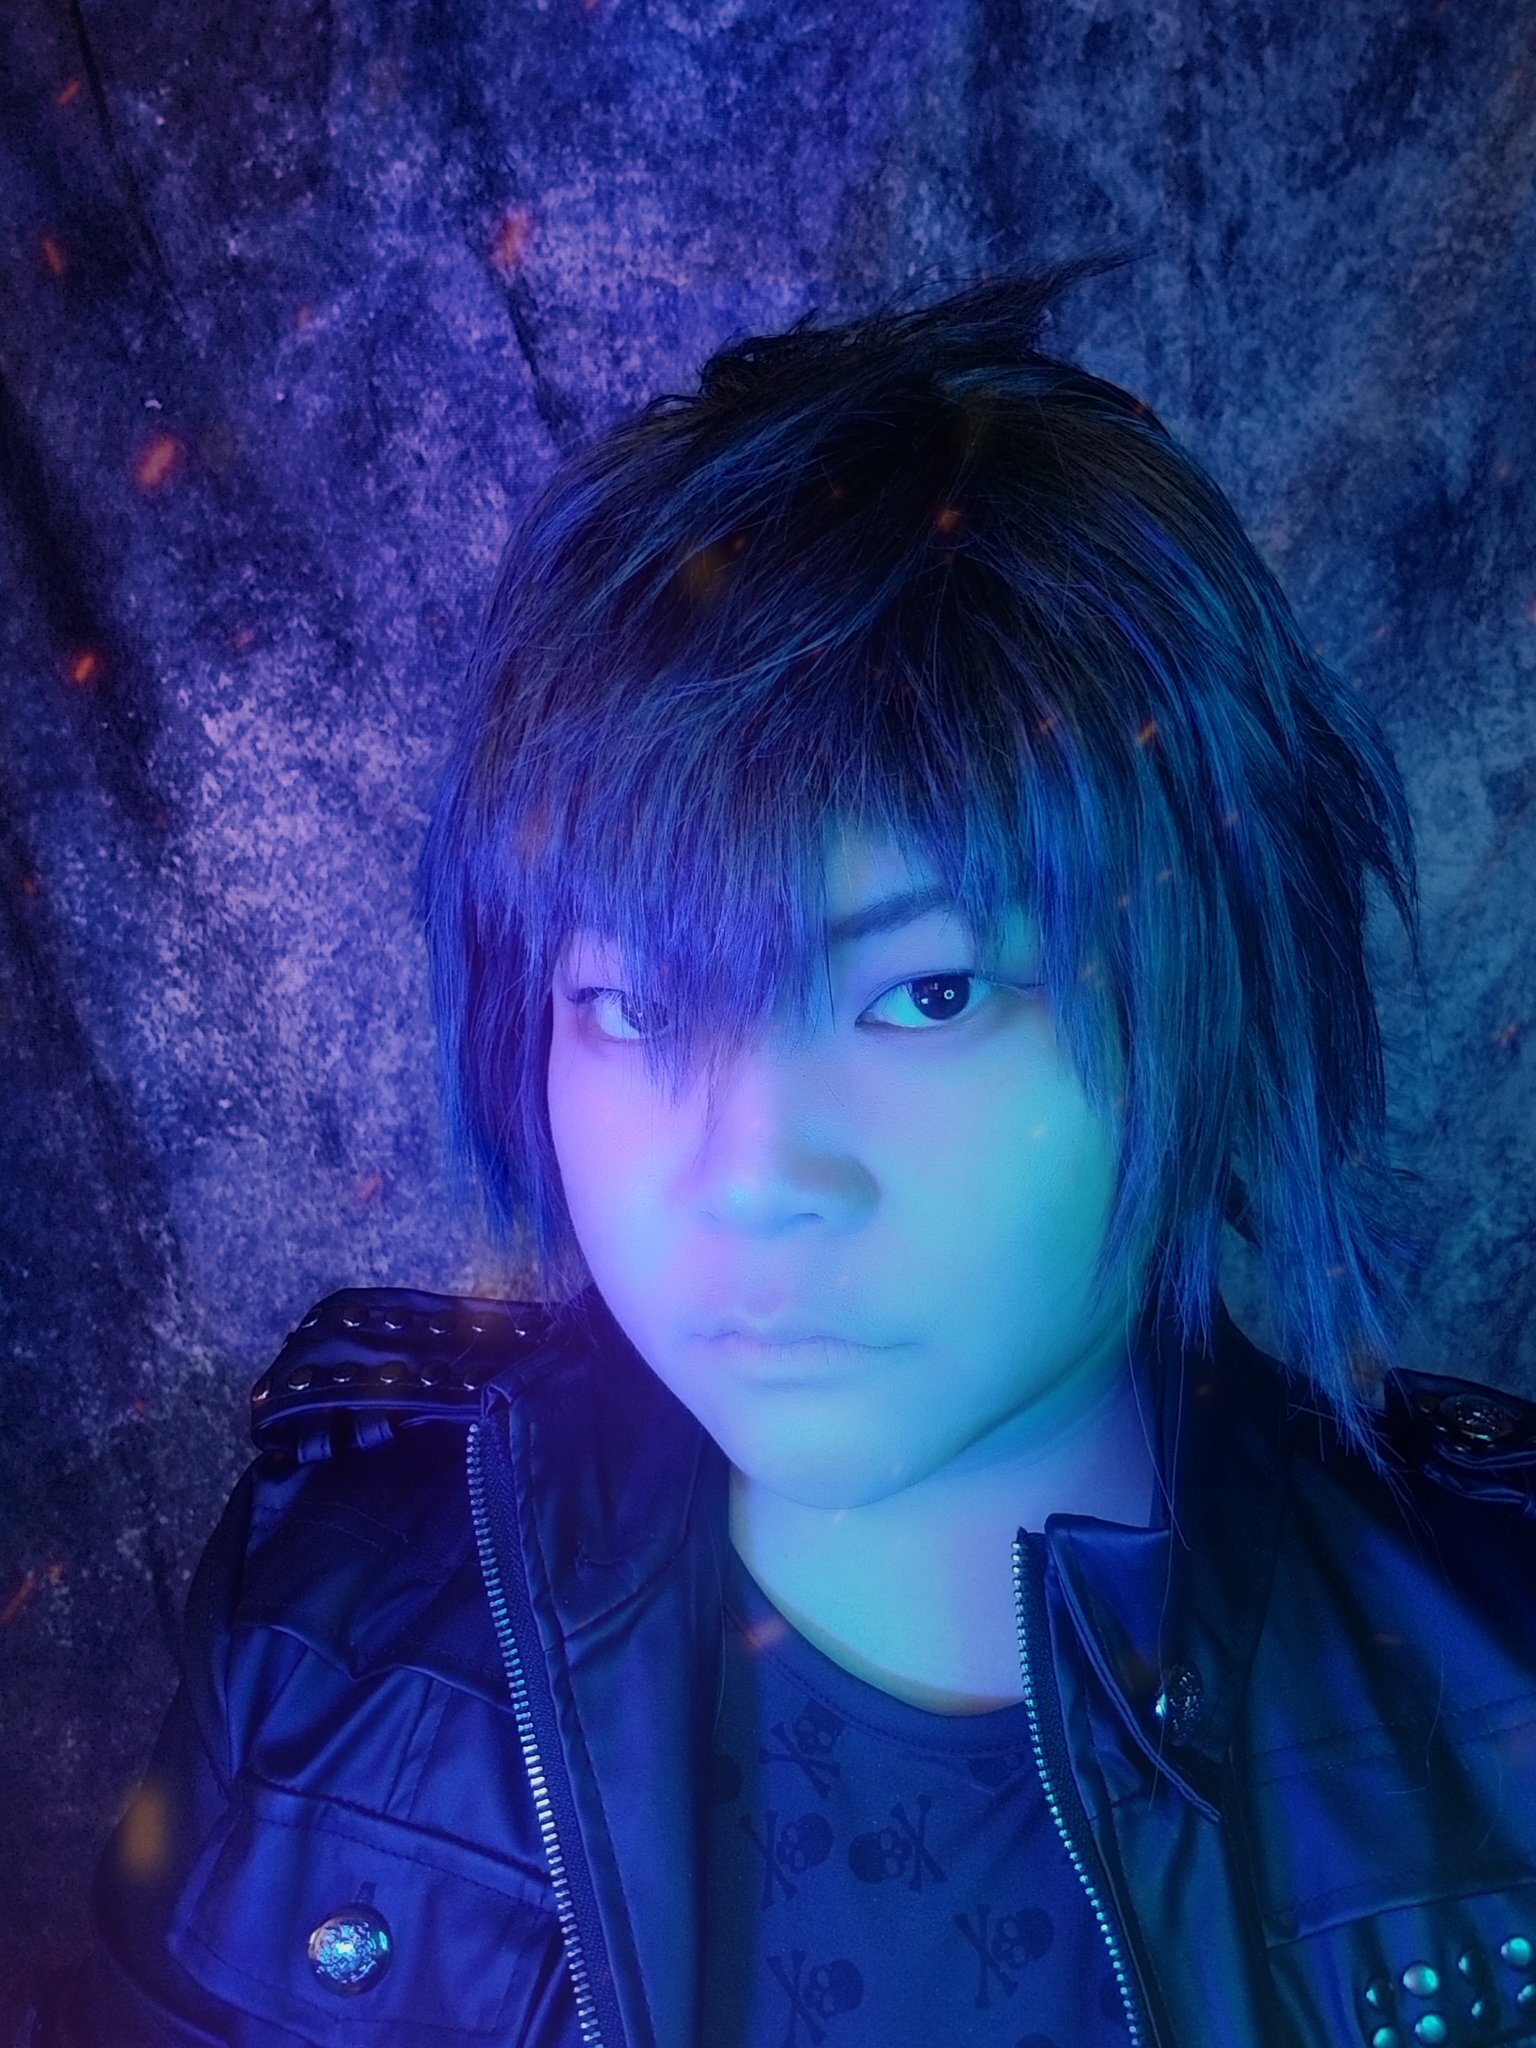
Genderbends and reimaginings are fun. But on me, with my bad sewing techniques, poor design decisions, body image issues, and making the Sword of the Father way too big, it just didn’t sit right with me. So, of course I’d want do a canon style Noctis.

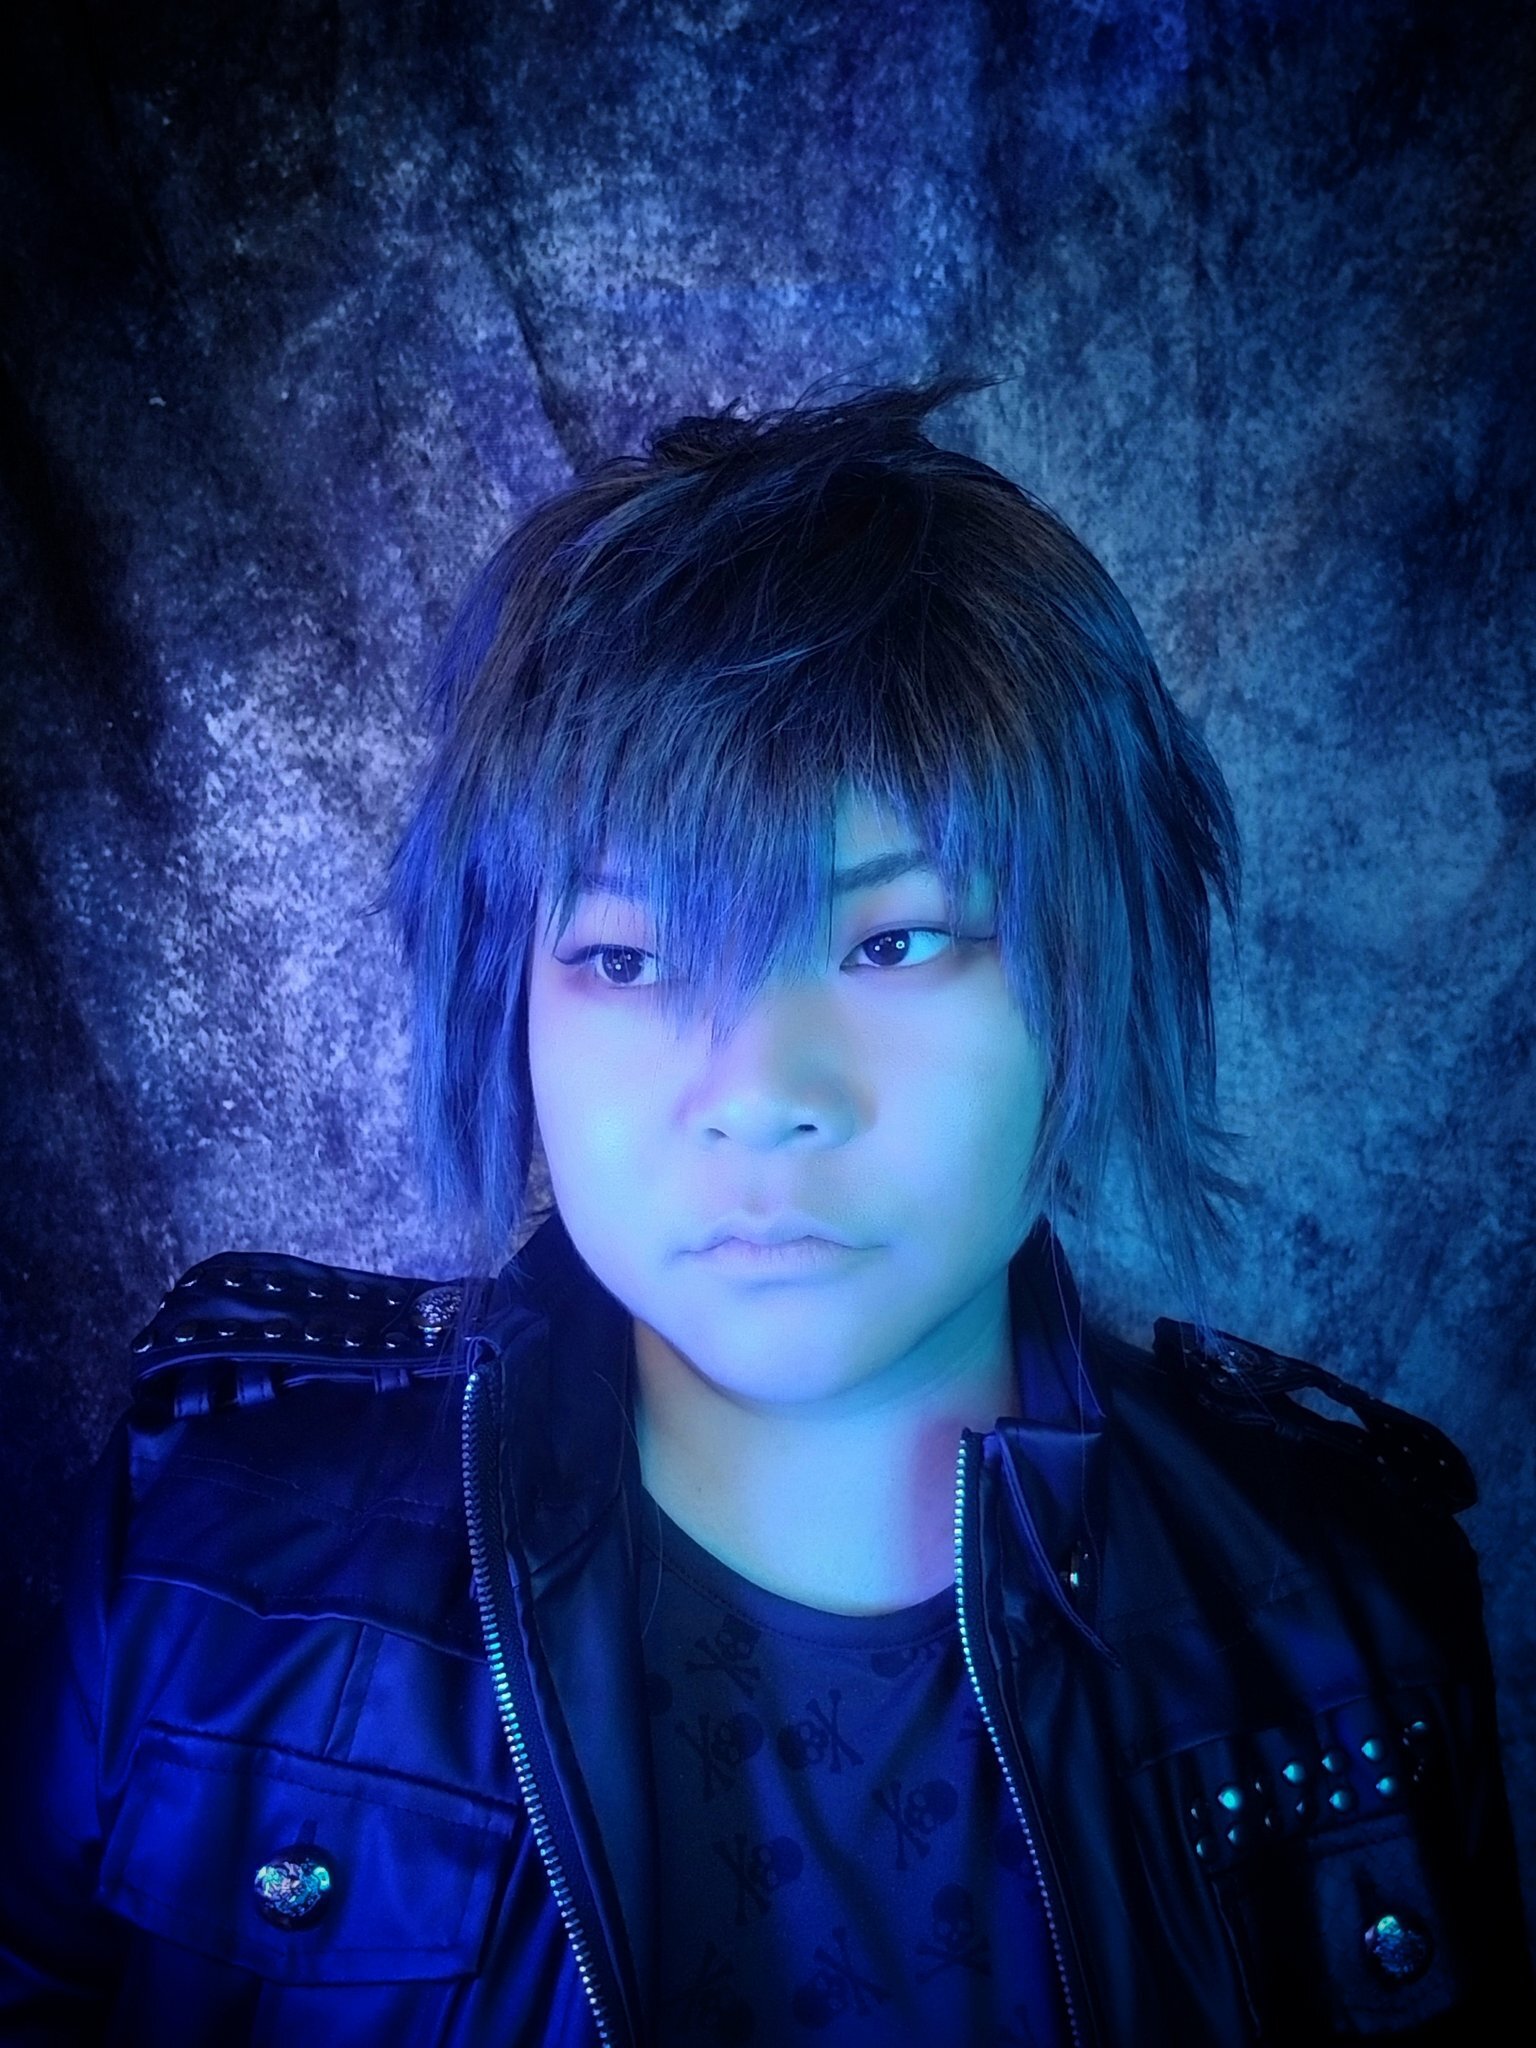
It’s taken me three years to start even on just his wig. So! Here it is.

Base Wig:

If I’m not mistaken, the base wig is a Magnum Long Classic Arda Wig in some kind of grey (I can’t find my invoice to confirm and it’s not on my account). It’s one of these colors… I think (It’s a good thing this isn’t a tutorial or a guide, because so far it’s extremely unhelpful):

IMG_20200518_164653_390.jpg
Capture.JPG

Tools:

For all my wig stuff, I use two types of scissors: Thinning Scissors (the ones with the teeth) and regular ol’ sharp hair Cutting Scissors. And I use them two ways.

  • Thinning Scissors - I cut from the top and trim down to the tip (To create layers, natural looking ends)

  • Cutting Scissors - I cut from the tip and go up (To trim/cut to length, to cut off fly-away strands)

Is this how you’re supposed to use them? I don’t kno~w!

Styling:

Starting with the base wig, like the Chadley wig, I added more layers and straightened the front.

IMG_20200518_164653_389.jpg

I blow-dried everything upside down and then hair sprayed the back. Using my fingers, I pressed the ends into small spikes and created a sort of triangle shape (or like a duck butt?) in the back. I kept the very bottom wefts alone so that it could cover my neck.

Using heat again, the hairspray hardens and the strands maintain its shape. For the very top, I teased back the top layer a bit so that it could stand up higher on the head.

IMG_-jvfkai.jpg

I cut the front of the wig to a length longer than the desired length and added layers from there. And for the sides, I added long layers so that it would stick out on the side as well as trying to make it frame the face like Noctis’ does.

After spraying the front, I used a straightener to press the tips together to create spikey shapes, but also pulled it apart gently to create more natural looking strands.

From the top of the wig, I picked out groups of strands and pulled them forward to try to make it look more natural, kind of like a plucking motion. And I also tried to pull apart fly-away strands or cut frayed edges.

processed_20200518_145620.jpg

Voila?

Mirrored Bathroom Selfie~

Mirrored Bathroom Selfie~

Annnd there it is! What do you think?

Cosplay

Cosplay Journal - [WIG] Chadley (Final Fantasy VII Remake)

It’s been 23 years since the original Final Fantasy 7 and 15 years since a tech demo released showing FF7’s opening in updated graphics. From that point, fans were begging for a fully fledged remake and it finally released in 2020! Probably one of the most anticipated games in history due to the classic and iconic nature of the original, I’d say the title sold itself. The remake is slated to be episodic and upon release proved to be way more than what people were anticipating. Rather than a full 1:1 copy, it was reimagined, rewritten, and reworked to give an expanded, clarified, and detailed look into the FF7 universe, giving greater depth for beloved characters and introducing new characters, like this nerd here:

maxresdefault.jpg

Meet Chadley! I instantly screamed when I read his name because of how absurd it sounded to me (sorry to any IRL Chadleys out there). Chad + Bradley is an all new monstrosity that somehow fits his character. He just a kid you simultaneously want to tease and want to protect at the same time. In game he’s a teen intern hoping to “undermine” his company’s efforts by helping the heroes with new items. So, of course, I had to try to cosplay this good, good boy.

FYI, this is not a tutorial. I have no idea what I’m doing.

The Base Wig:

I took Arda’s Skyelar Classic Wig in Victory Blonde (CL-053A) and straightened it loosely so the curls weren’t as tight, but the wave was still present.

Straightening + Cutting

As the the wig straightened, it became quite long! So I cut the wig to a length that was just at the shoulders first, before cutting even shorter, leaving the bangs for last. Knowing how many mistakes I make, it’s best for me to cut little by little. I can always make it shorter, but I can’t make it longer!

Create Layers

In order to create layers, I separated parts of the hair into thirds creating a top, middle, and bottom layer, making the top layer the shortest and the bottom layer the longest. Using thinning sheers, I cut it at an angle to make sure that the top layer was always the shortest, but with the thinning sheers, I think it creates a more natural look because not everything is cut straight across. And because of the waves already present in the wig, it created it’s own voluminous look.

20200423_144512.jpg
20200423_144508.jpg
20200423_144344.jpg

Heat + Set

I repeated the process until the shape started to look as close to the character as I could create it. For the bangs, I put the wig on my face and cut it from there. Lastly, I used my hot iron to create additional curls and set the entire thing with a light coat of hair spray.

20200423_154618.jpg
battle-intel-manual-final-fantasy-7-remake-wiki-guide.jpg
20200423_211620_442.jpg

And that’s it! I’m actually quite proud of this one even though it’s so simple, since my other attempts at styling have either been super basic or not quite executed as well. I hope to be able to cosplay him fully at a convention soon.

hqdefault.jpg
IMG_20200423_181035_686.jpg

Cosplay

Cosplay Journal - Burning Rescue Jacket (Promare)

In this you will find:

  • Materials used

  • Estimated cost (often after coupons/sales)

Materials:

  • 4 yards red cotton blend fabric (~$20)

  • 3 yards black fabric (denim?) (~$20)

  • 1 yard yellow cotton blend fabric (~$5)

  • 1 yard yellow vinyl (didn’t use) (~$5)

  • Snaps (~$5)

Other Items:

  • Wig ($20)

  • Boots ($40)

Background Info:

I had known of Promare due to work, but never looked into more than what I had to do. In fact, I was exposed to the keyart and some info prior to its debut in the states, but didn’t think anything of it beyond what I needed to do. Even after talking to those working on the project and its distribution, I simply thought, “oh, another Anime movie.”

Fast forward to September when it was released in theaters. I had seen fanart of it from Japanese fans, and was really interested in the design of one particular character. Because of that plus having heard its name for work so many times, I went to go see it. I drove out 40 minutes out to a theater that was showing this limited released foreign movie. I watched it, and I thought it was okay.

 
20191016_203650.jpg
 

And then I got home.

And then I thought about it.

And then I hadn’t stopped thinking about it.

And then I realized, “Wait. This movie is really good.”

Because of my vocal fanaticism, I was invited to talk about it on a web show and invited to participate in a fan-made zine. I ended up watching it a total of 5 times in theaters (I’ve heard of people watching it 16 times in LA and one case in Japan of someone watching it close to 100 times!):

maxresdefault.jpg
20191121_140310.jpg
  1. The fated first time (dubbed)

  2. Again, by myself (subbed)

  3. With friends who wanted to know what the heck I was talking about (dubbed)

  4. When it came back to theaters as “Promare REDUX” due to popularity (even after getting extended showings) (subbed)

  5. When it returned as a 4DX showing (and that was a WILD RIDE) (dubbed)

After the first showing, I had already bought a Lio Fotia wig (as well as the 1/7th figure statue because I have no willpower), so of course I was going to cosplay for the REDUX showing.

But, I didn’t think I could confidently pull off a form fitted leather outfit, and 12+ belts and at least 4 zippers. So instead I went with making the fire fighting team’s jacket instead and mashing the two concepts.

Construction:

For this, I used my new serger machine (or I guess people also call them overlock machines) for the first time. The machine is pretty scary at first. Not only is it loud, it seems super powerful. (I did accidentally run a pin through it as the serger was also cutting the edges and cut the pin clean through!)

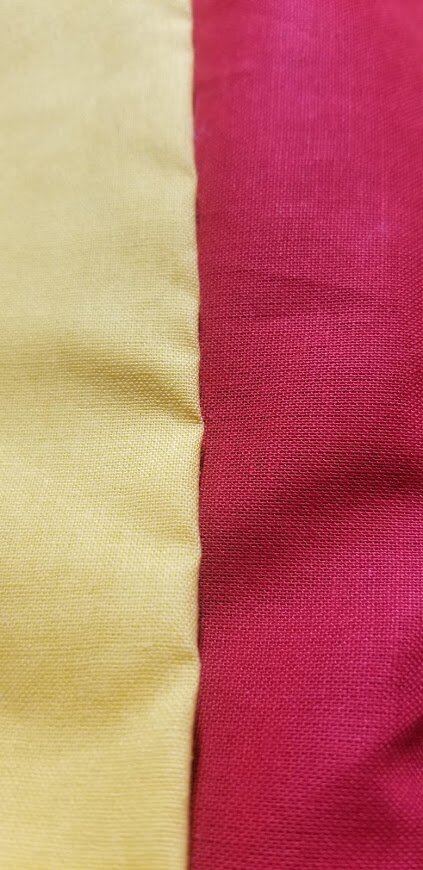
But the most impressive thing is that I actually, sort of lined something, this time. Although, that was a necessity. The red fabric I bought felt and looked too light and was somewhat transparent. So, adding the dark fabric underneath made it look heavy like protective wear.

 
20191129_171224.jpg
 

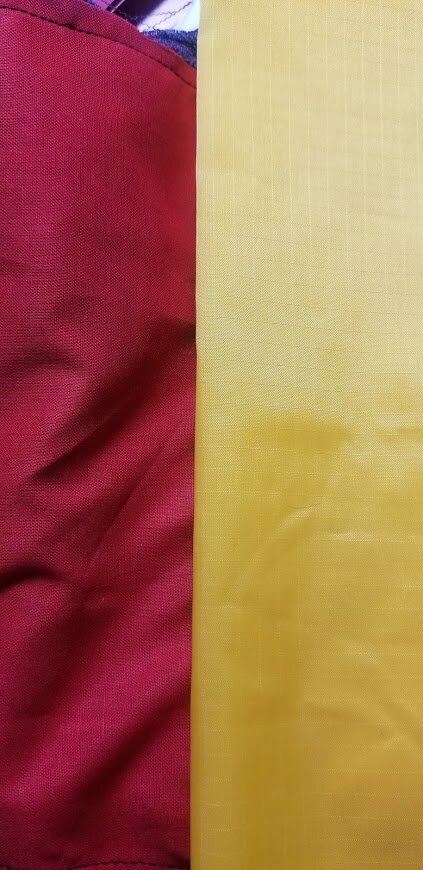
I found two yellow fabric that I wanted to potentially use. One was almost a reflective-looking vinyl and the other was the same material as the red fabric. I ran a twitter poll and people opted for the latter!

At the same time, my sewing machine kept giving me errors that I coudln’t figure out how to solve. A serger is not a sewing machine. It’s not meant to do what sewing machines do. But here we are...

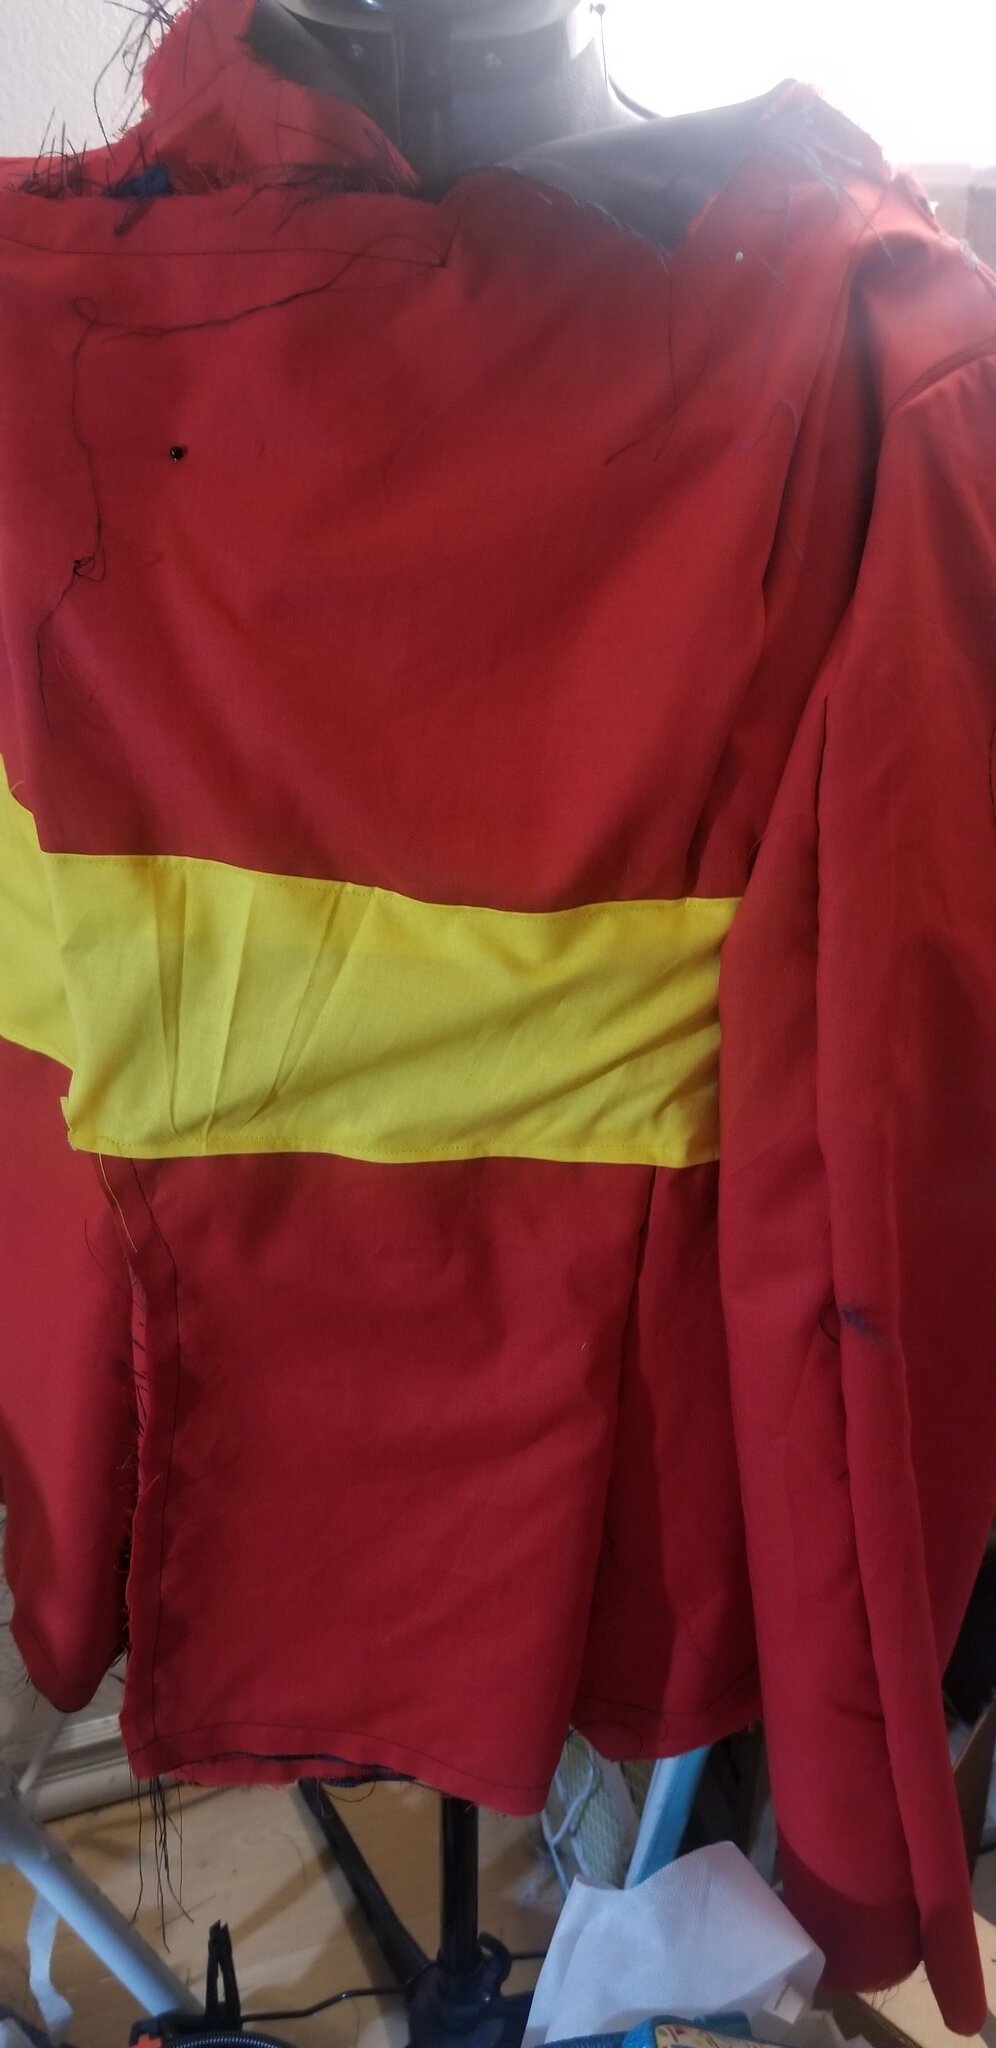
This ended up being serge’d together in very convoluted ways.

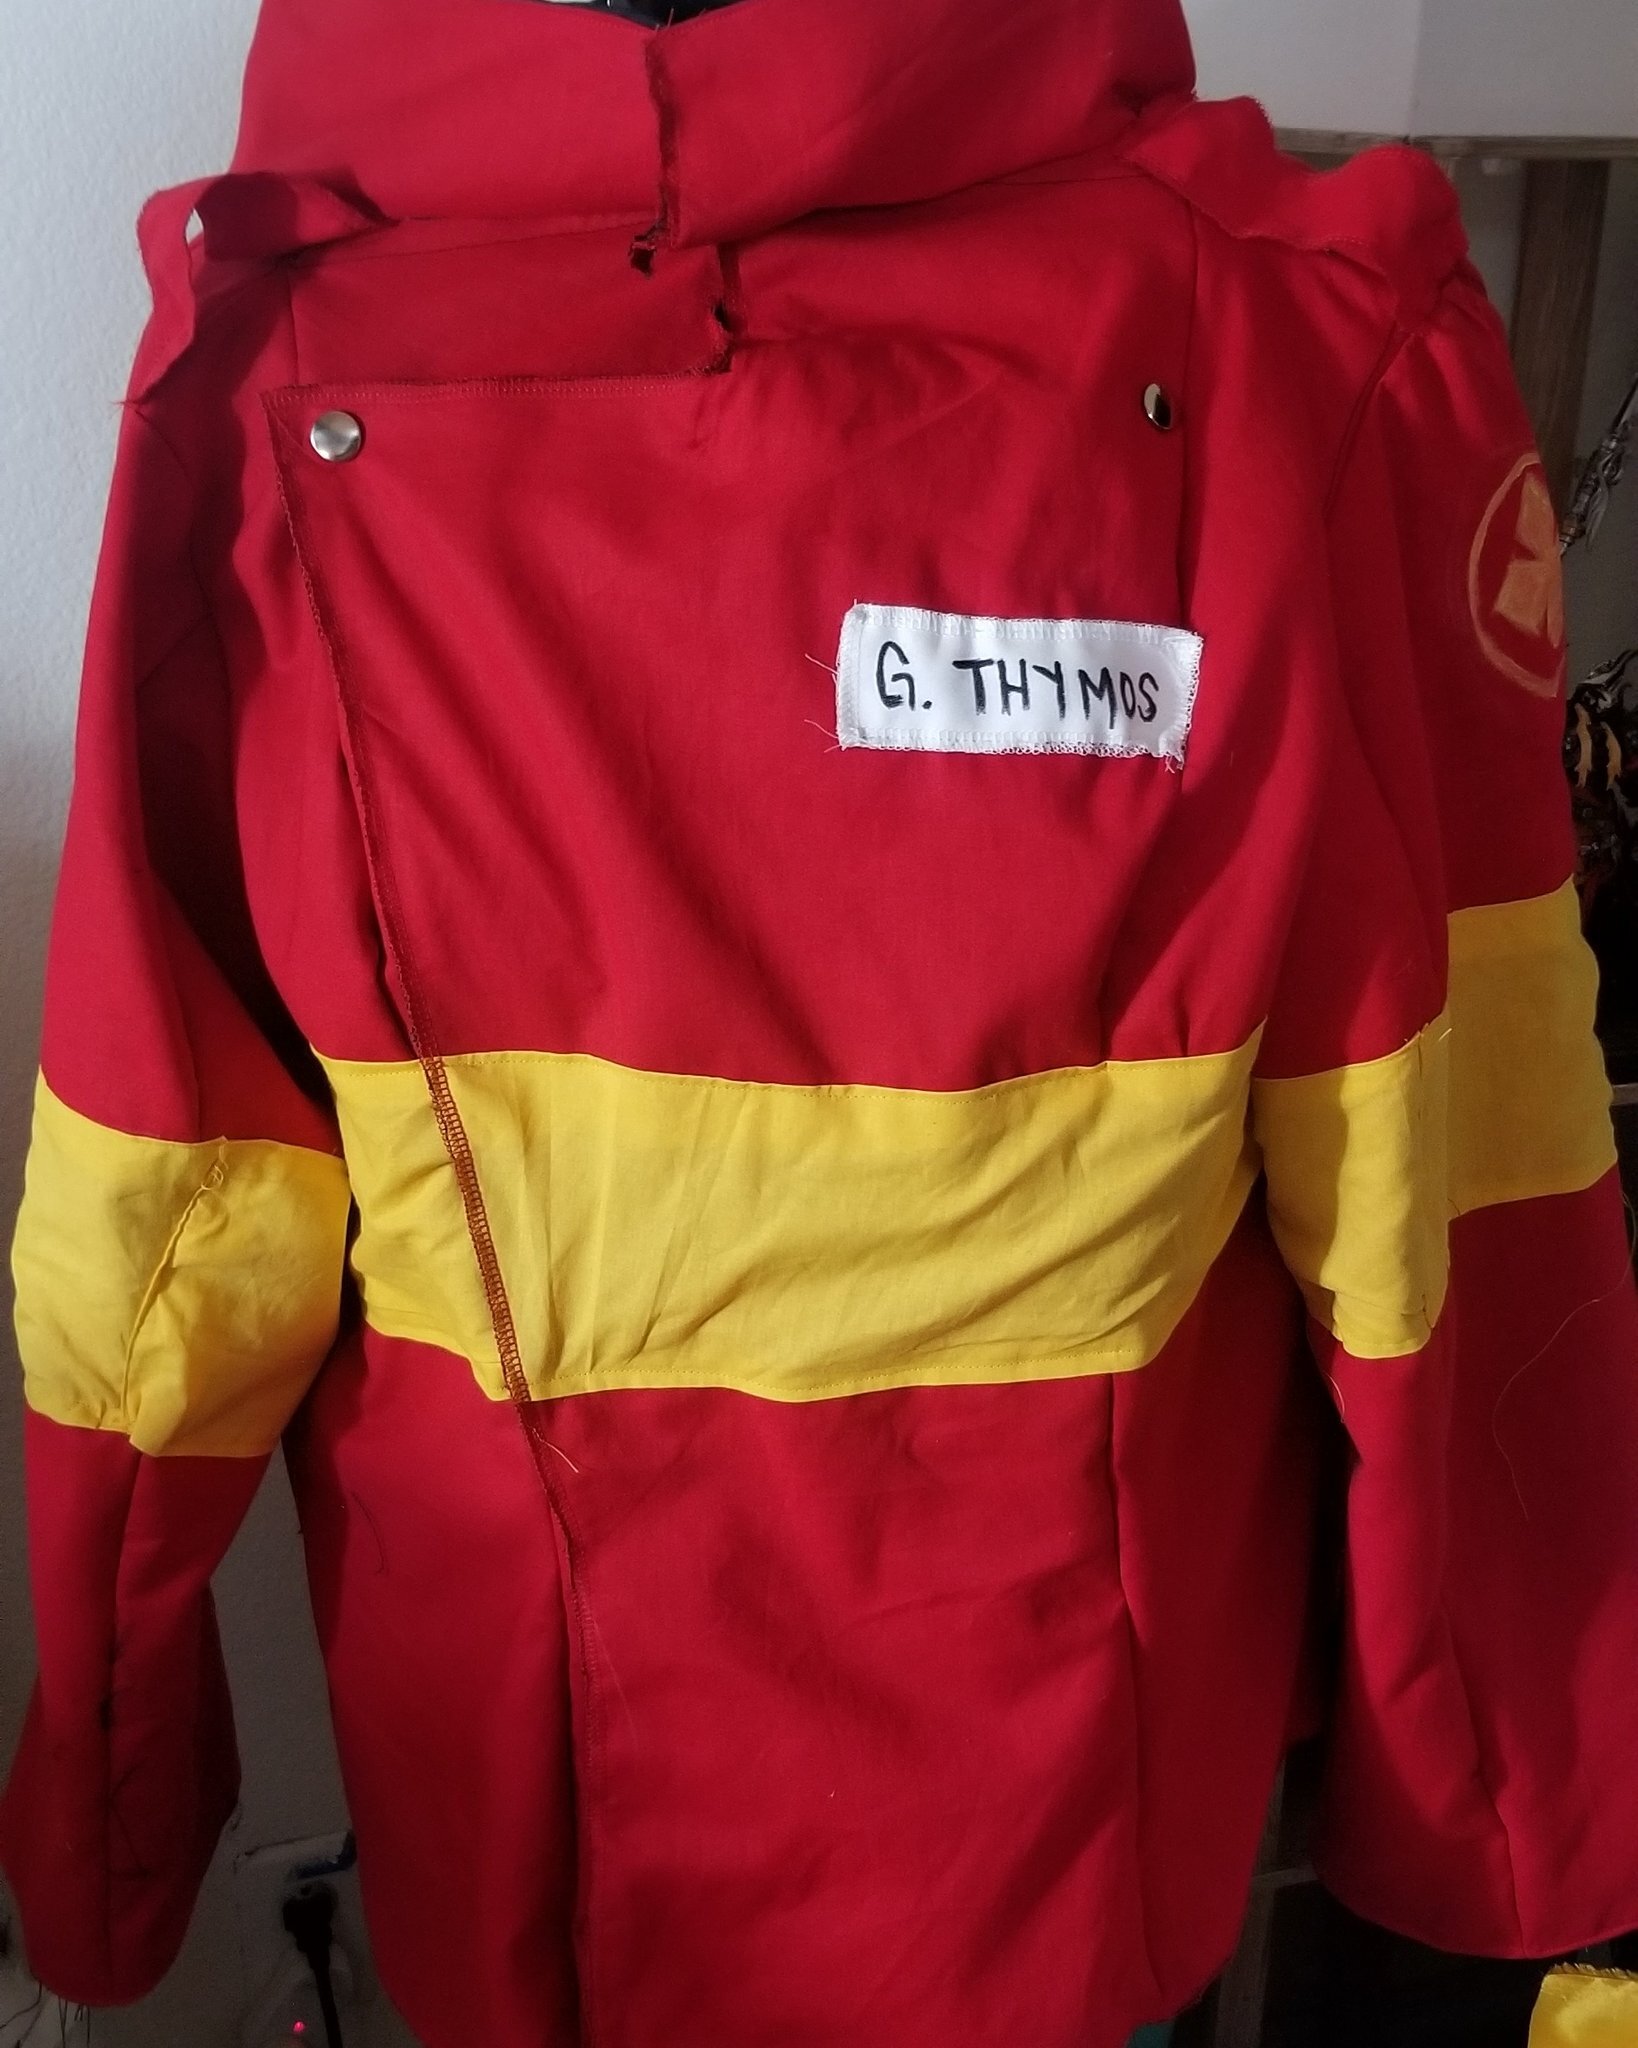
I added the button snaps according to the reference (or at least to the best of my ability) and added additional hidden snaps along the jacket opening and the collar where I wanted a zipper (but because my sewing machine wasn’t cooperating, I had to make due).

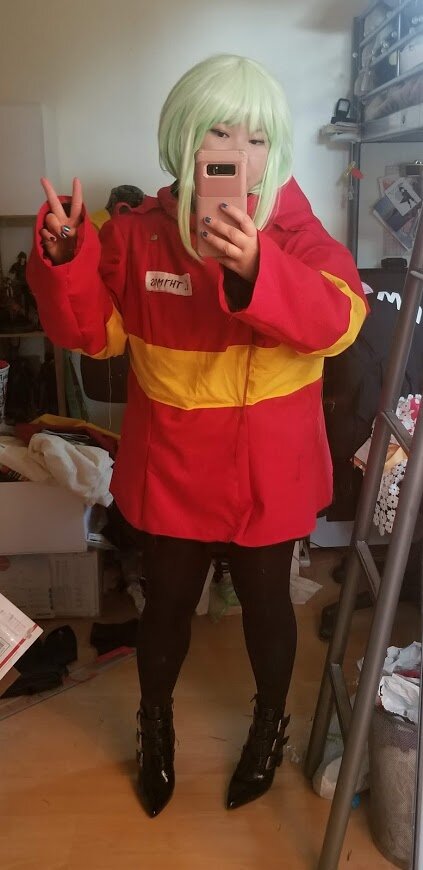
For my own indulgence, I added a name tag and due to lack of time, talent, and/or resources, I painted the emblem on the jacket.

Conclusion:

It may not be the best Burning Rescue jacket, but I felt like I was able to construct this in a way that it could hold up for a while. I was happy that it was well received at the showing, too! But the best thing to come out of this whole endeavor had to be the splurge on the shoes.

 
20191106_175136.jpg
 

I would like to revisit this one day to add a patch to where I painted the emblem and add pockets. I was happy that I got to re-wear this at the 4DX showing, as well!

 
20191208_123620.jpg
 

Cosplay

Cosplay Journal - Annette (Fire Emblem: Three Houses)

In this you will find:

  • Materials used (not including mock muslin which I buy in bulk)

  • Estimated cost (often after coupons/sales)

Materials:

  • 4 yards Polyester Black (~$30)

  • .5 yards Gold Performance Vinyl (~$10)

  • 3 Offray 3/8"x9' Firefly Metallic Woven Wired Edge Ribbon-Gold (~$5)

  • 1.5 Yards Gold Trim (~$5)

  • Gold tassel trim ($5)

  • Horsehair Braid ($9)

Other Items:

  • Purse ($10)

  • Boots ($20)

  • Wig ($30)

FYI, this is not a tutorial. I have no idea what I’m doing.

Background Info:

A few friends in a cosplay group for FE3H were missing a few characters including Annette, so I asked if I could join for Anime Los Angeles (January 10-13 - Ontario, CA).

Annette is an adorable character that loves to sing and bake (opposite of me). Her design, aside from her uniform, is very soft, round, and friendly. Her uniform matches the typical Gareg Mach uniforms (very inline with characters like Lysithea, and nothing too modified like Hilda or Dorothea), but has a pouch that is unique to her.

 
feth-annette-concept.jpg
 

The Mock-Up:

I made a muslin mockup without a pattern by draping the fabric over the dress form and pining shapes to where I think they're supposed to go.

 
processed_20191102_222043.jpg
 

Construction:

I think what is commonly used is a Polyester/Cotton blend material for the uniforms. However, I went with a full polyester fabric because of the weight and feel of the underside. I feel like I won’t need to add a lining to it. It does appear shinier (oops), but it also appears blacker (Yay), which is also why I went with it.

Using the muslin mockup, I cut the black fabric to the same shapes and begin pinning that to the form.

I used the Offray Ribbon for the details. I’ve seen people use iron on vinyl which produces a nice, clean shape.

processed_20191221_235518.jpg
processed_20200109_002436.jpg
processed_20200110_200523.jpg

Wig

I picked a Peach wig from Arda Wigs because I felt like it matched Annette's hair color closest. I would have picked a straight style but items were on backorder. So I opted for their Ferrari style (wavy) and straightened it with a flat iron. Annette has two loops in her hair for some reason. In order to capture that shape, I used horsehair braid, which is a stiff polyester used to hold shapes in trims. I adhered that to the wig using Got2B hair gel. I left some strands on the side, rather than pulling it back because I like to hide the sides of my face with hair.

Annette_Portrait.png
processed_20191226_184531.jpg
processed_20191226_185109.jpg
processed_20200110_222241_897.jpg

Details

My apoxie sculpt ended up drying up and I couldn’t figure a way to salvage it. So I used moldable foam to create the pieces and glued a safety pin to them to pin to the skirt and top. It wasn’t the best sculpting work, but it’d have to do. I was definitely too embarrassed to photograph it close up.

I painted the gold trim black since I didn’t want an excess of the gold. It didn’t quite work, but it didn’t not work… It actually looked kinda cool when it caught the light- like a black gold kind of effect. That, or I’m trying too hard to justify what I’ve done.

I could not find any buttons that had the same shape I wanted, so I painted the button covers black and sewed those on without the bottom half of the button covers. I had the same problem with painting the gold trim, that the black paint didn’t stick well (granted, it was cheap acrylic paint). But shhhh….

processed_20200108_215814.jpg
processed_20200109_002455.jpg
processed_20200110_214718.jpg
processed_20200110_214814.jpg

Post-Con Thoughts:

At con, the glue ended up peeling off of the boots and the foam pieces and things started falling off. (I even lost one without knowing!) The buttons were extremely loose given the shape and how I sewed them on. The ribbons didn’t capture the look I was going for, either. In the future, I'd like to use 3D printed pieces for the embellishments and buttons. I’ve seen others use iron on transfer for the design, but I wanted something with more texture (which is why I chose the type of ribbon in the first place). I would use a different kind of trim in lieu of the ribbon or embroider the design.

This did end up being cheaper than buying it from a costume/cosplay shop, though, and was really fun to try and pattern myself! I definitely learned the importance of not taking any shortcuts and have ideas to plan out my construction a little bit better.

 
processed_20200110_222356_963.jpg