After months of it just sitting on my desk, I finally added the cellophane.
The trick to combat the adhesive was to really make sure that the cellophane was creased on the corners. Cutting the cellophane to individual shapes of the flame works the best. Keeping scraps helps fill any missing holes.
Here’s what it looks like with a small LED inside of it.
The kit includes a bottom piece that is removable so you can insert things such as a lights into it, but I don’t believe mine came with the cap (which isn’t the end of the world at all). I can find an alternative to cap it up.
I had known of Promare due to work, but never looked into more than what I had to do. In fact, I was exposed to the keyart and some info prior to its debut in the states, but didn’t think anything of it beyond what I needed to do. Even after talking to those working on the project and its distribution, I simply thought, “oh, another Anime movie.”
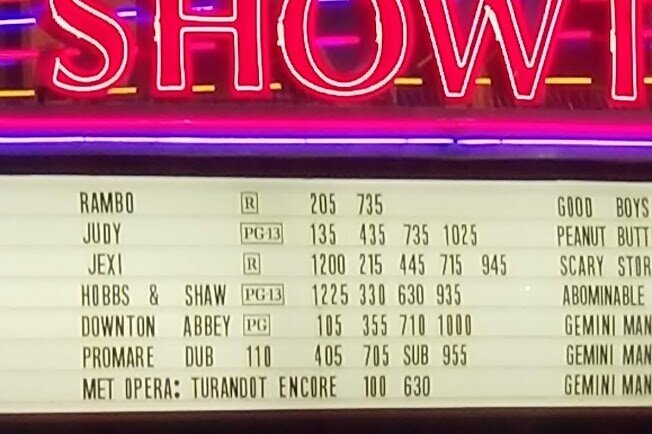
Fast forward to September when it was released in theaters. I had seen fanart of it from Japanese fans, and was really interested in the design of one particular character. Because of that plus having heard its name for work so many times, I went to go see it. I drove out 40 minutes out to a theater that was showing this limited released foreign movie. I watched it, and I thought it was okay.
And then I got home.
And then I thought about it.
And then I hadn’t stopped thinking about it.
And then I realized, “Wait. This movie is really good.”
Because of my vocal fanaticism, I wasinvited to talk about it on a web showand invited to participate in a fan-made zine. I ended up watching it a total of 5 times in theaters (I’ve heard of people watching it 16 times in LA and one case in Japan of someone watching it close to 100 times!):
The fated first time (dubbed)
Again, by myself (subbed)
With friends who wanted to know what the heck I was talking about (dubbed)
When it came back to theaters as “Promare REDUX” due to popularity (even after getting extended showings) (subbed)
When it returned as a 4DX showing (and that was a WILD RIDE) (dubbed)
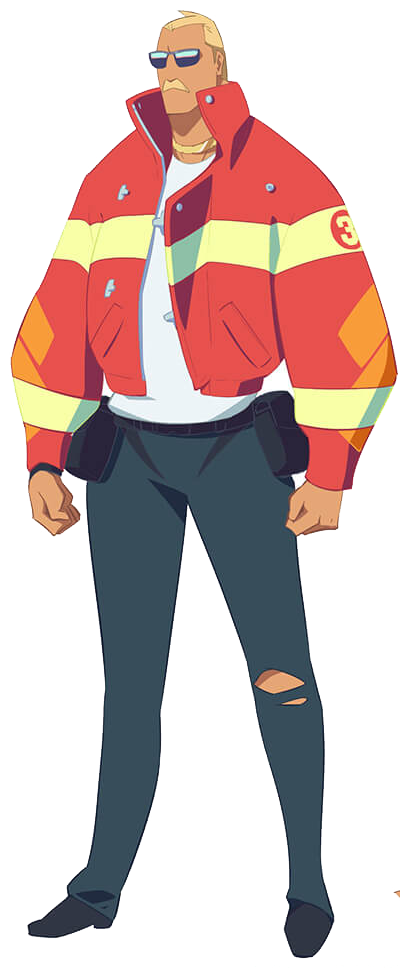
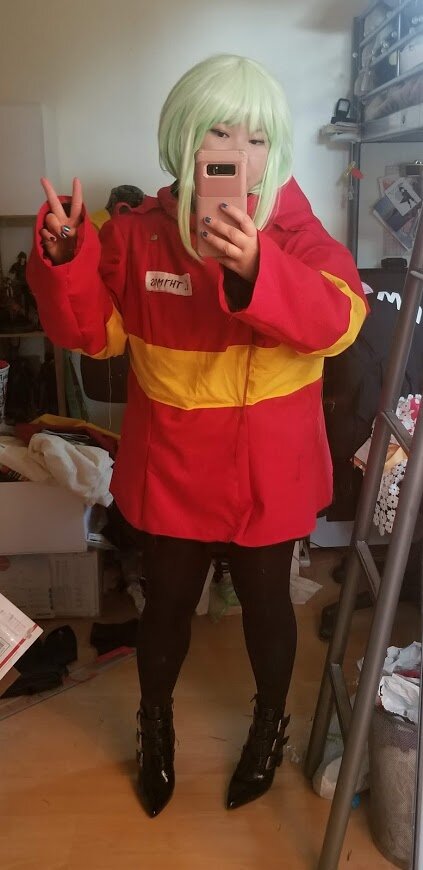
After the first showing, I had already bought a Lio Fotia wig (as well as the 1/7th figure statue because I have no willpower), so of course I was going to cosplay for the REDUX showing.
But, I didn’t think I could confidently pull off a form fitted leather outfit, and 12+ belts and at least 4 zippers. So instead I went with making the fire fighting team’s jacket instead and mashing the two concepts.
Construction:
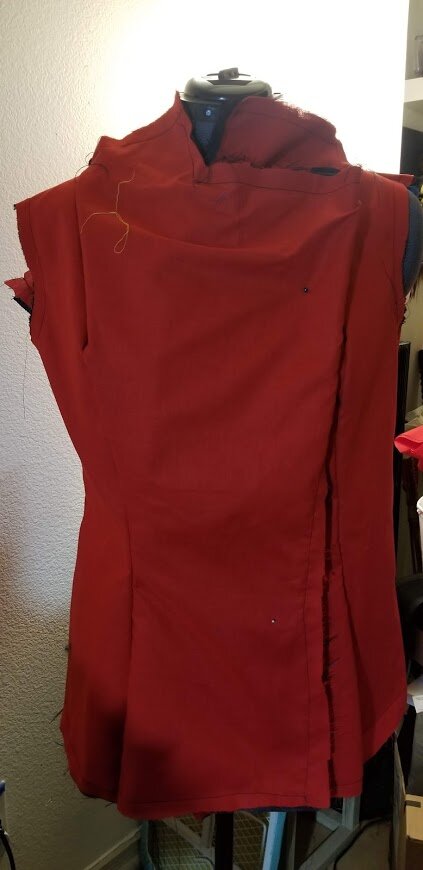
For this, I used my new serger machine (or I guess people also call them overlock machines) for the first time. The machine is pretty scary at first. Not only is it loud, it seems super powerful. (I did accidentally run a pin through it as the serger was also cutting the edges and cut the pin clean through!)
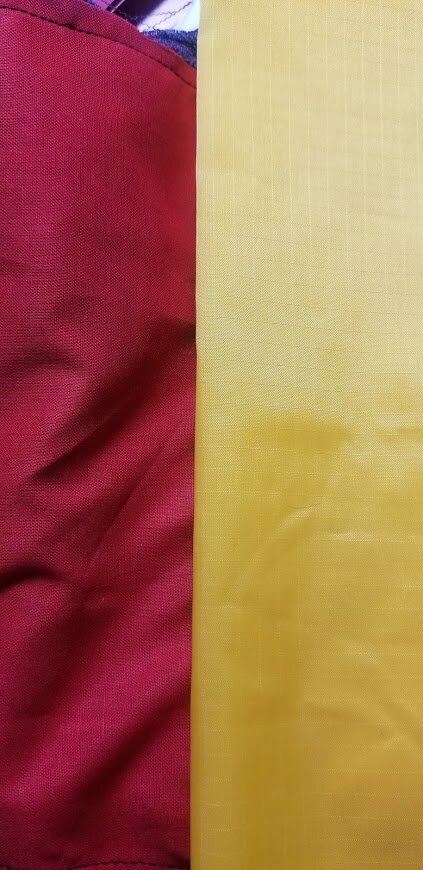
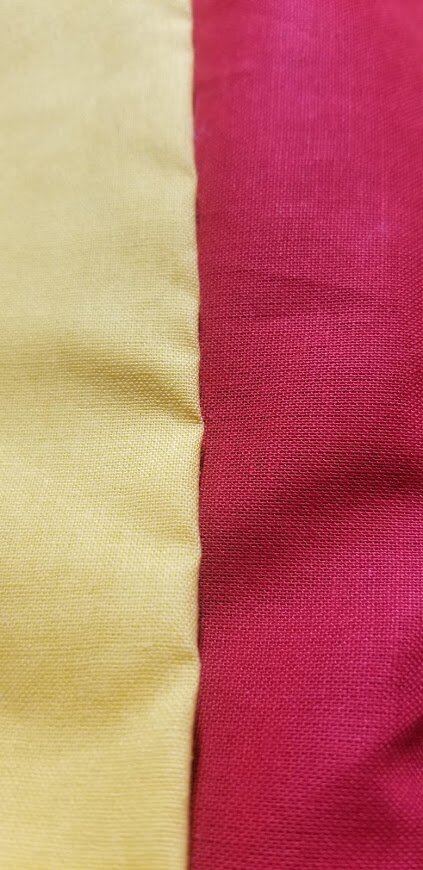
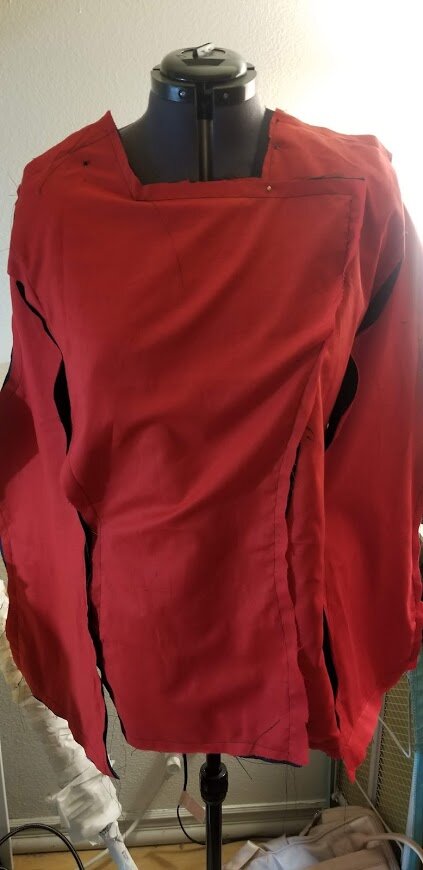
But the most impressive thing is that I actually, sort of lined something, this time. Although, that was a necessity. The red fabric I bought felt and looked too light and was somewhat transparent. So, adding the dark fabric underneath made it look heavy like protective wear.
I found two yellow fabric that I wanted to potentially use. One was almost a reflective-looking vinyl and the other was the same material as the red fabric. I ran a twitter poll and people opted for the latter!
At the same time, my sewing machine kept giving me errors that I coudln’t figure out how to solve. A serger is not a sewing machine. It’s not meant to do what sewing machines do. But here we are...
This ended up being serge’d together in very convoluted ways.
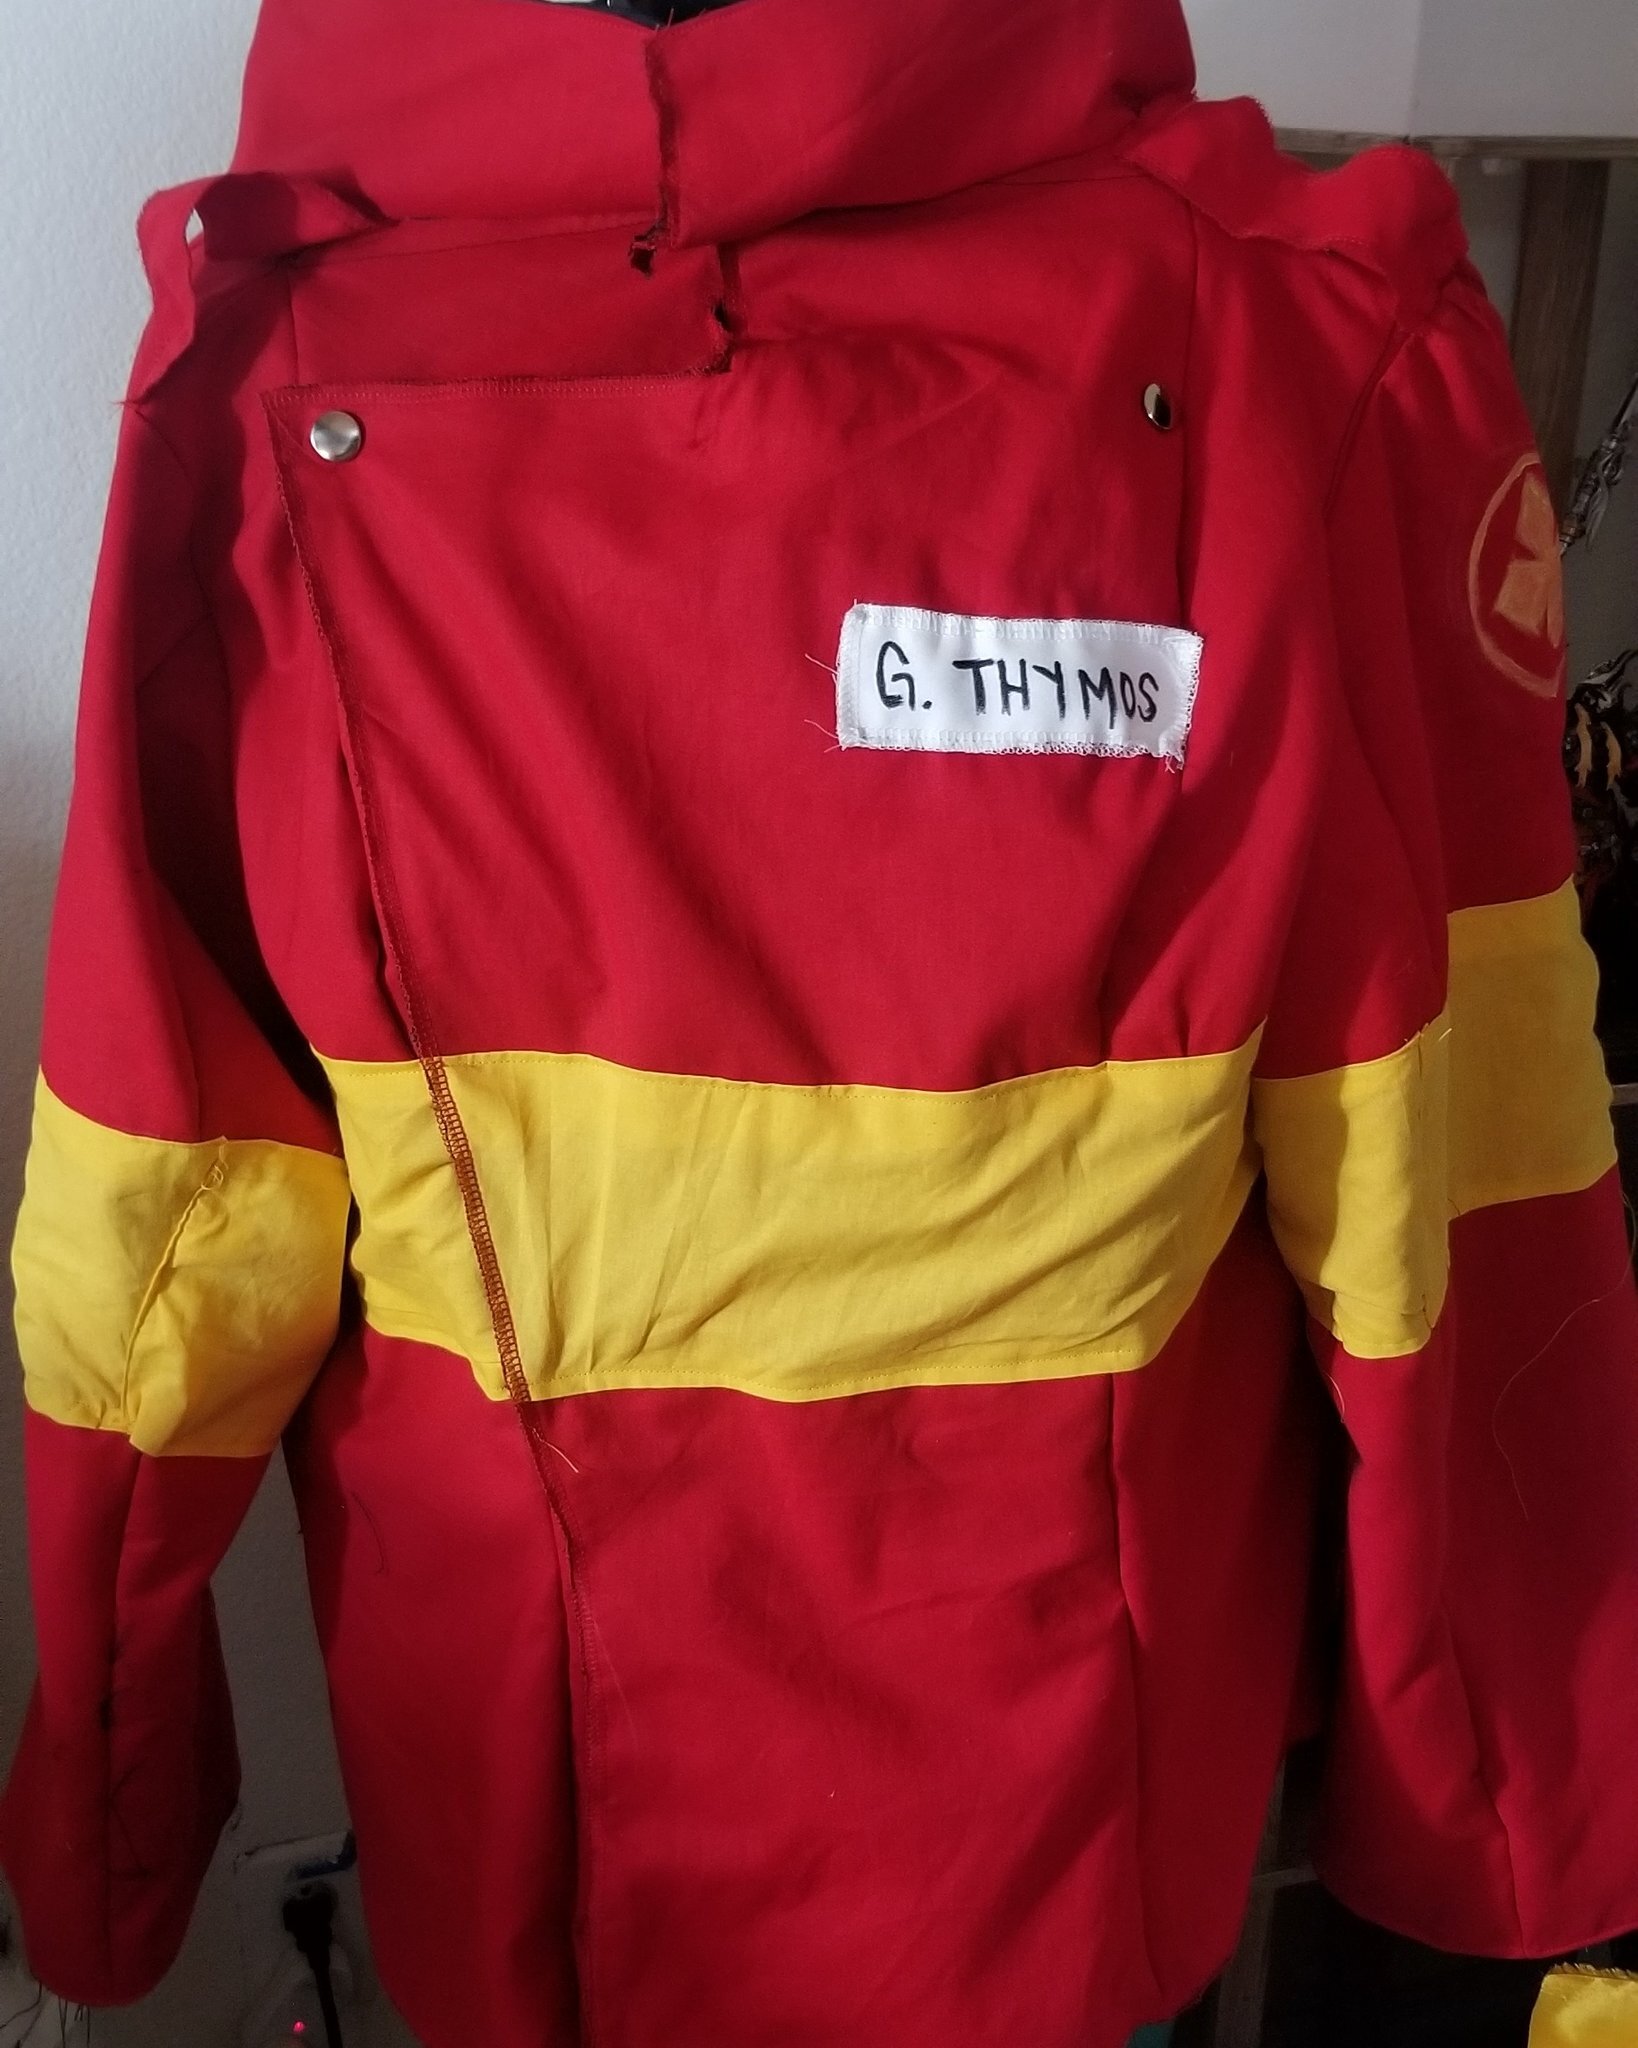
I added the button snaps according to the reference (or at least to the best of my ability) and added additional hidden snaps along the jacket opening and the collar where I wanted a zipper (but because my sewing machine wasn’t cooperating, I had to make due).
For my own indulgence, I added a name tag and due to lack of time, talent, and/or resources, I painted the emblem on the jacket.
Conclusion:
It may not be the best Burning Rescue jacket, but I felt like I was able to construct this in a way that it could hold up for a while. I was happy that it was well received at the showing, too! But the best thing to come out of this whole endeavor had to be the splurge on the shoes.
I would like to revisit this one day to add a patch to where I painted the emblem and add pockets. I was happy that I got to re-wear this at the 4DX showing, as well!